
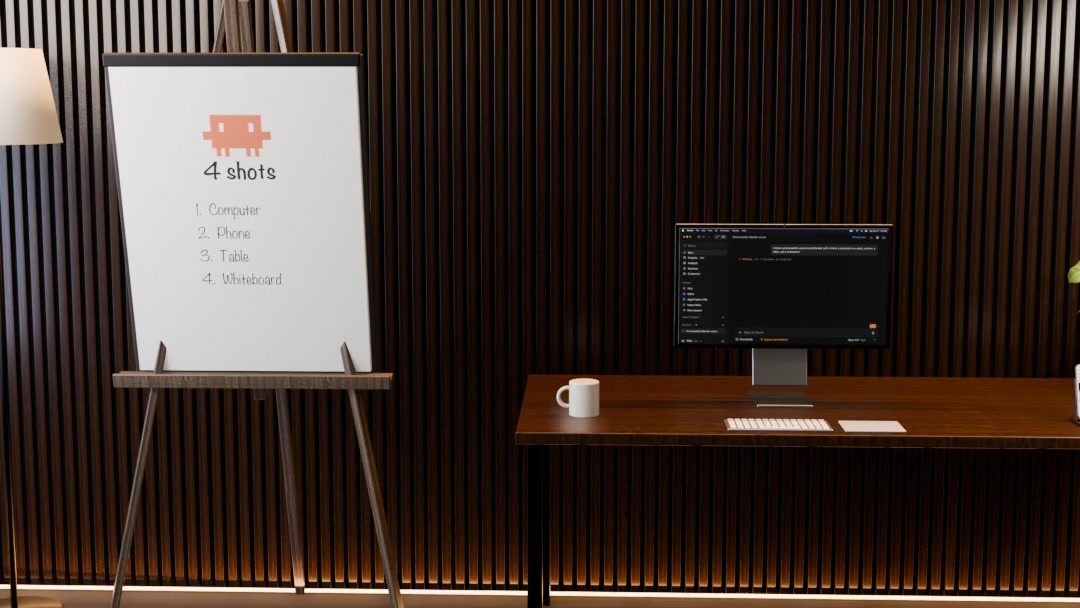
I created a video workflow with Claude Opus 5.5 and Blender that's basically fully autonomous. It's a completely new style I've wanted to do for a while, and AI finally lets me do it.
Now I can film myself talking to camera and drop the clip into Claude Code. It comes back as a finished edit inside a photorealistic 3D room: a computer, a phone, a whiteboard and a robot-arm table, each showing exactly what I'm saying.
My goal was to create a more immersive way to do educational content.
This is the full workflow, step by step, with the exact prompt I use. By the end, you'll be able to run it yourself.
Part 1: Blender Scenes and Shots
Before Claude can edit in this style, it needs a set.
You build it once: one photoreal room in Blender where every station is a shot you can cut to. Every video after that reuses the same room (if you want).
The four shots I created
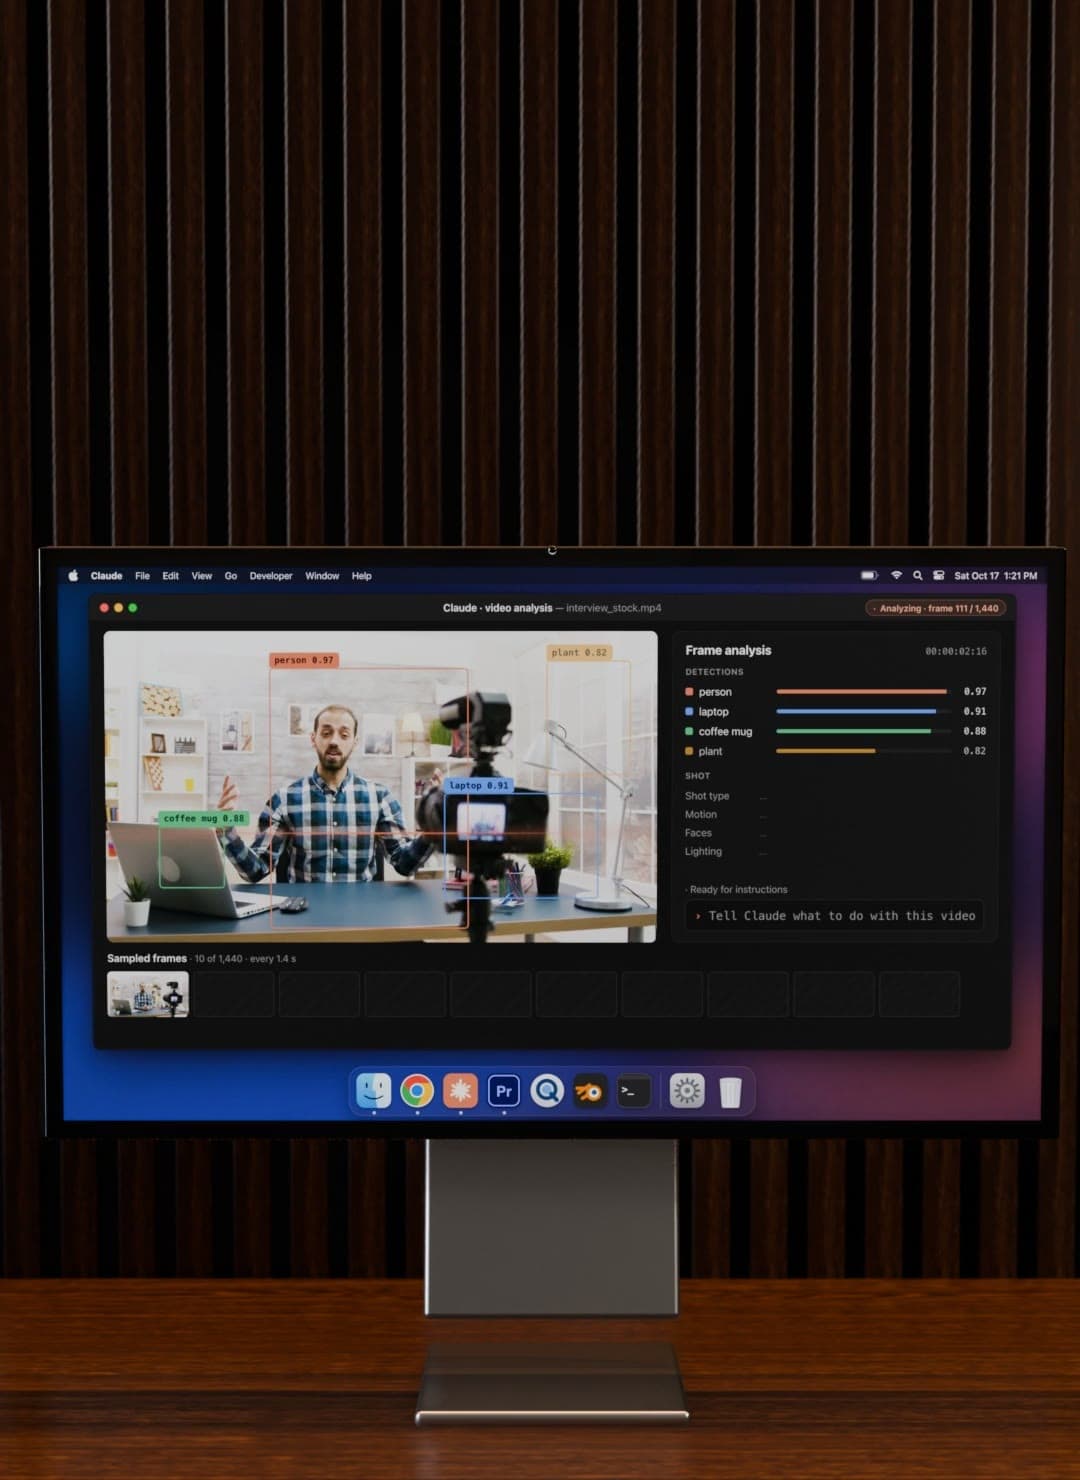
Computer. A Studio Display on a desk showing real app UI (Claude Code, ChatGPT, a Premiere timeline), with small zooms on the detail that matters.
Phone. An iPhone on a stand with real app screens, in sharp focus with rounded screen corners.
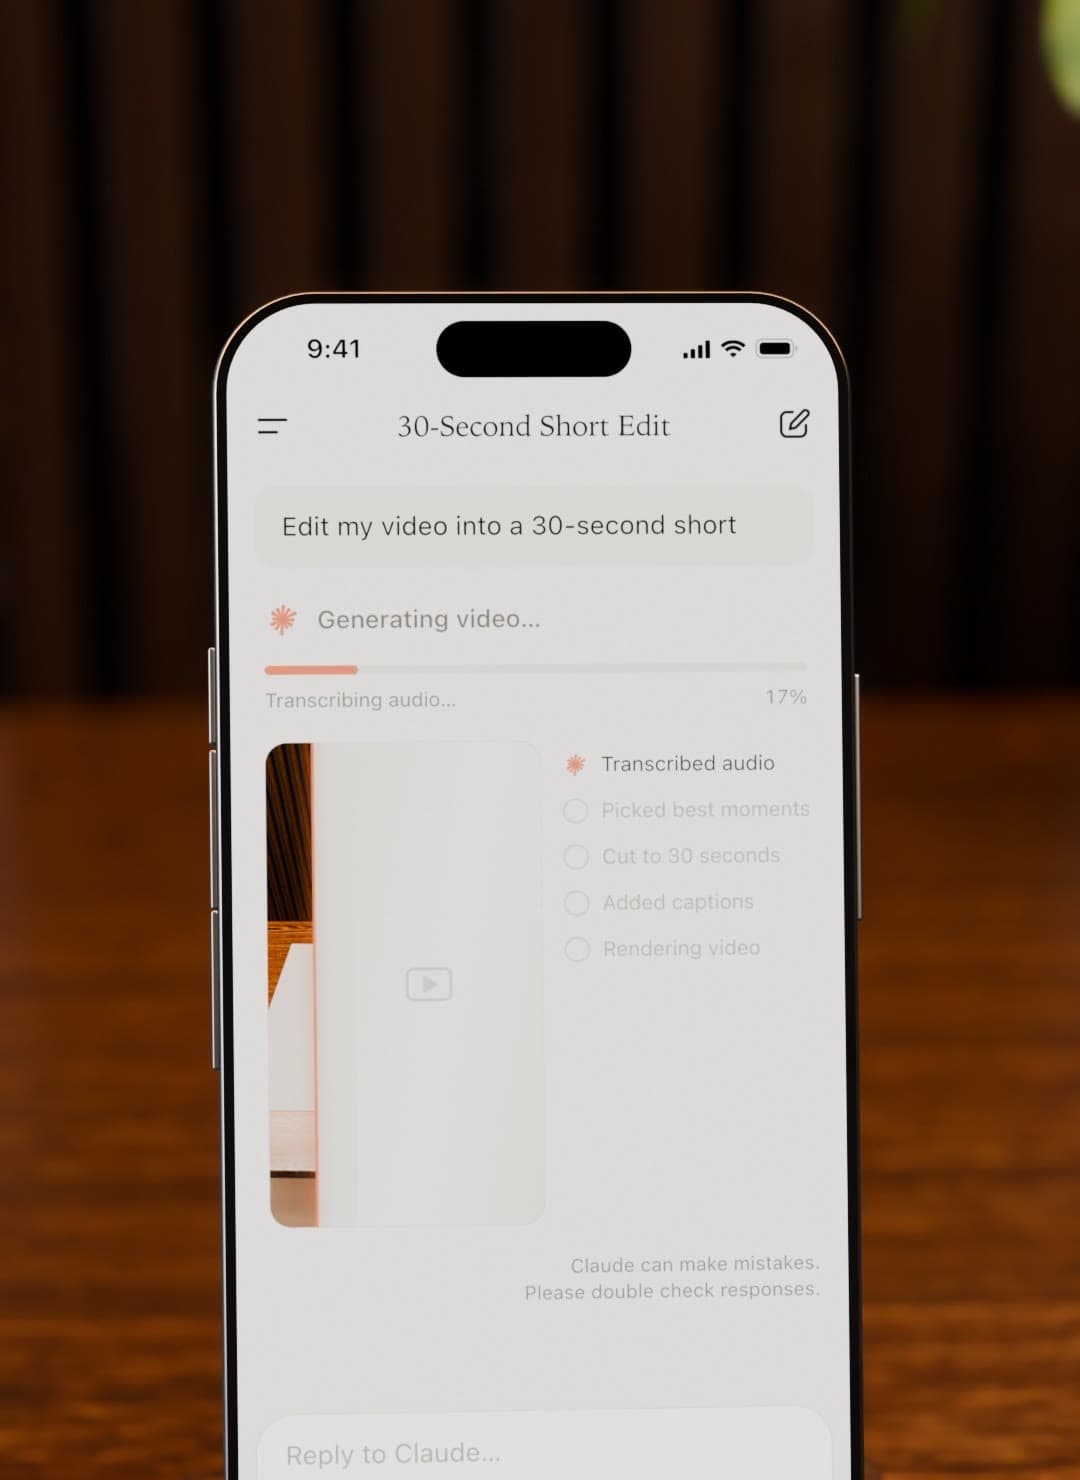
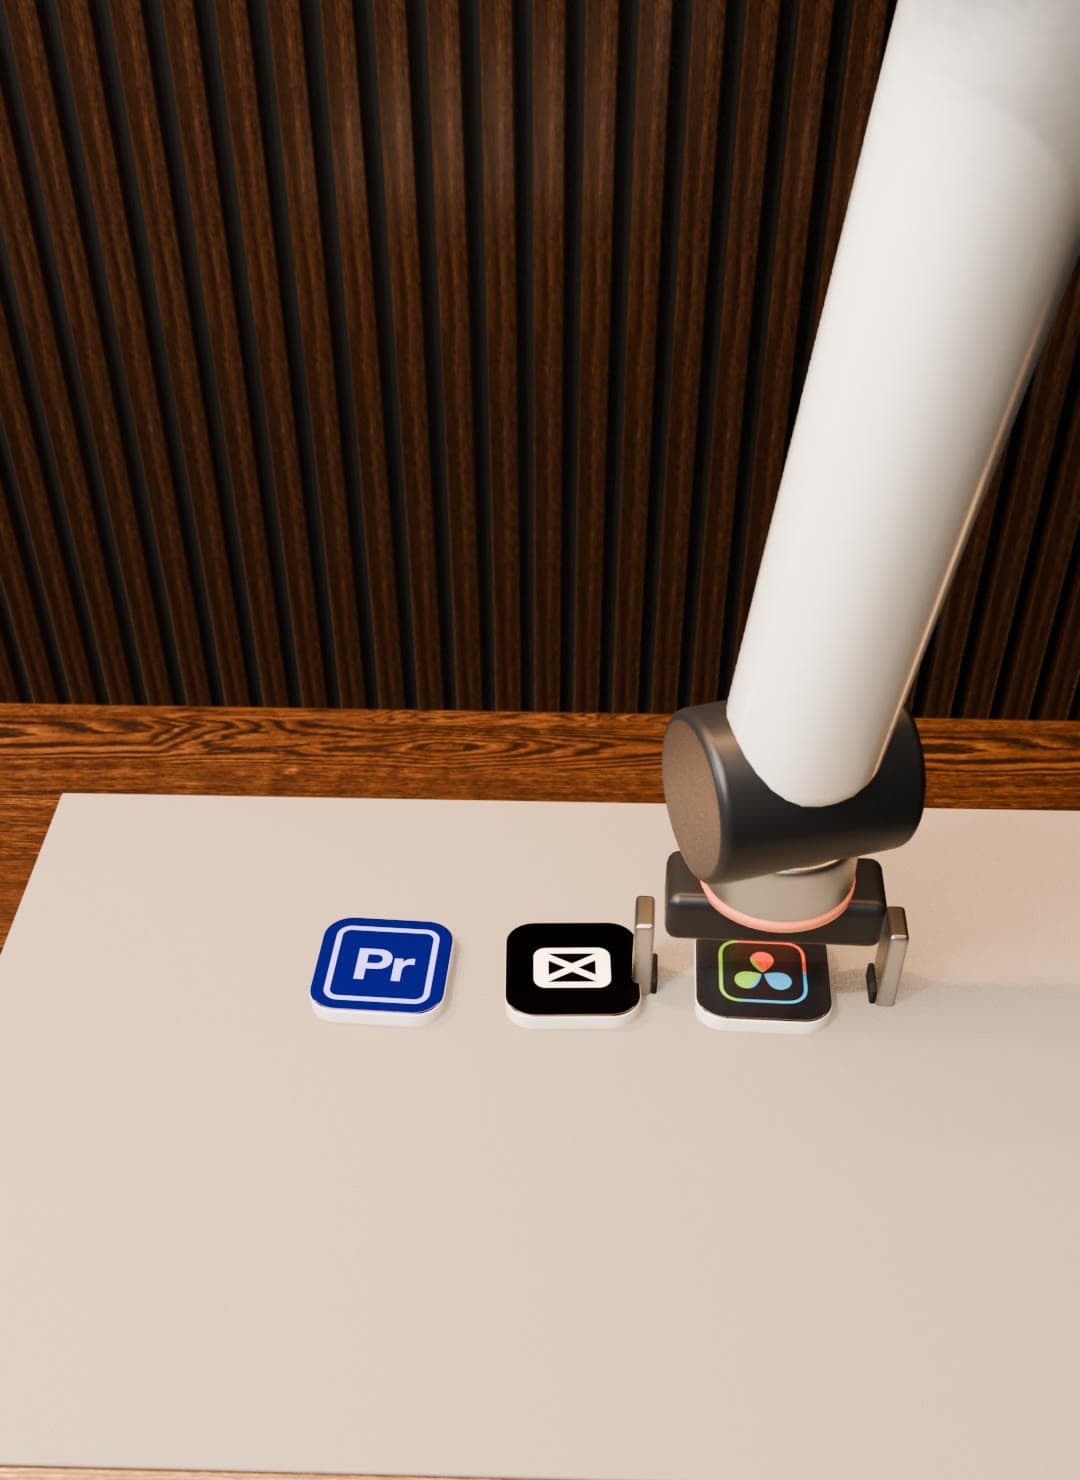
Table. A robot arm comes down from above and places objects: brand logos, a stopwatch, blocks of hours.
Whiteboard. A giant pencil writes the key words in sync with the voice.
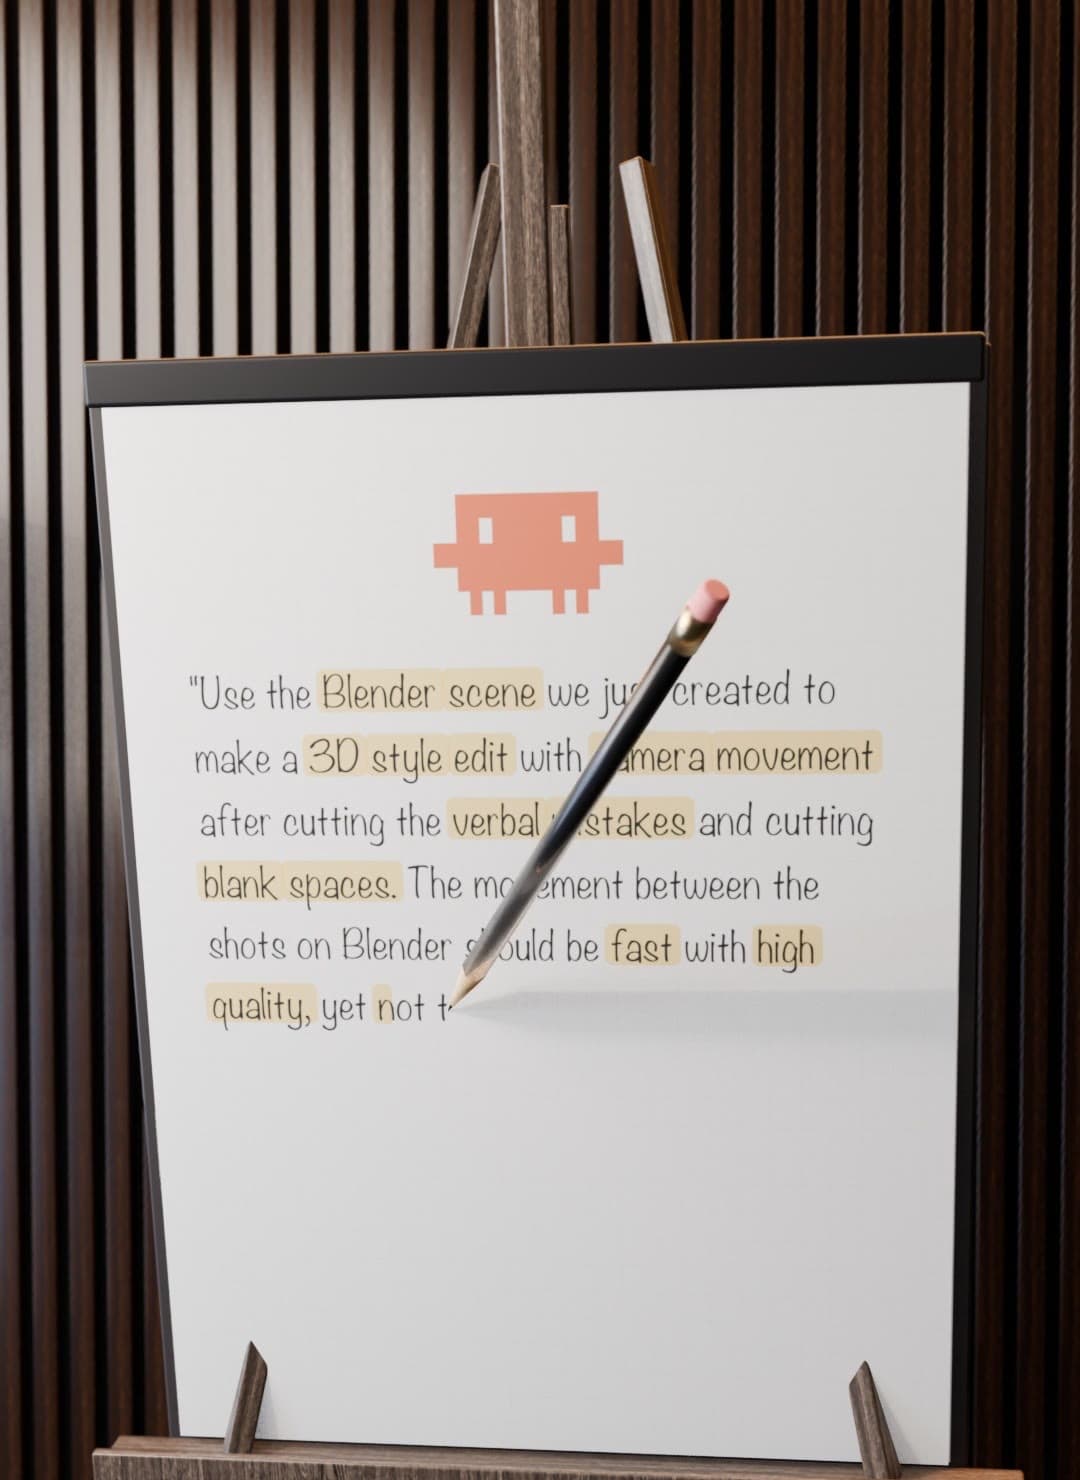
Plus a wide shot of the whole room, so the viewer always knows where they are.
Step 1: Ask for the room
Open Claude Code, turn off permissions, and give it the idea. This is the prompt I used:
Make a new version of this video. Instead of drawings on paper, make it an interactive demo in a room at super high quality. The room should switch between a giant sketch pad that shows drawings, a computer that shows real UI changes true to the actual apps, a phone, and a table where objects get placed. Use the same voice script as the last one. This should not be low poly. It should be a beautiful render that's nearly perfect. If you can do this in Three.js without losing quality, try that; otherwise use Blender. This should feel real.
Step 2: Claude builds it
Claude picked Blender over Three.js for the quality. It built the room, desk, display, phone, easel and table, mapped every line of the script to a station, and built the real screens for the computer and phone. Then it rendered test frames of every shot and checked them before anything else.
Step 3: Direct it with notes
The first version is a draft. You make it great with short, specific notes, the way you'd talk to an editor. Mine were:
- Replace the person at the sketch pad with a big pencil.
- Put the phone screen in focus and make it look real.
- Cut the pen sound by 70%.
- Have a robot arm place the objects on the table, not a hand.
- Add small zooms on the computer when the AI is thinking.
Then one more round to make it premium: a dark walnut slat wall, warm hidden LED light, a dark floor, and rounded corners on the phone screen. Ask for a short preview that shows every scene, not the full video, so each round takes minutes.
Step 4: Lock the camera rules
These go into every video made in the room:
- Zoom out, move, then ease in, so the viewer never gets lost.
- One focal point at a time.
- Nothing cut off, and never a blank frame.
- Nothing holds still for more than 8 seconds.
That's the set. It's saved, and every video from here is made inside it.
Part 2: Make video in that scene
Ideation and writing
- Riley has an idea for a video.
- Riley writes the script.
- Riley adds a comment on each line saying what should be on screen.
- Riley records his talking head, cuts it, and drops it in Downloads.
- Riley Tells Claude to edit the video
I'm giving you a video of me talking to camera. Turn it into a finished horizontal 16:9 video. Build a photorealistic room in Blender with four shots: a computer on a desk, a phone, a table, and a whiteboard. Cut between my talking head (full screen and half screen) and those four shots, always matching what I'm saying at that moment.

Read my transcript and decide what each shot shows. Every screen should look real: real app UI (Claude Code, a Premiere-style timeline, the Claude iPhone app) and real logos (Premiere Pro, CapCut, DaVinci Resolve). When I say something, show it. If I name a model, zoom in on it. If I talk about AI analyzing a video, play a real stock clip on the computer and split it into scenes with labels. Use one idea per shot, no blank frames, nothing cut off, and nothing that holds still for more than 8 seconds.

Render the Blender frames on RunPod GPUs, split across a few pods so it's fast. Check each pod's Blender install before it renders, retry any frames that come back empty, and stitch everything back together with my audio. Keep the camera moves smooth and slow: zoom out, move, then ease in.

Before the full render, show me a short preview so I can check the look. Then render the whole video at 1080p and give me one link to the final file.
- Claude Begins working
- Claude reads the script and every comment, and picks defaults for lines with no comment.
- Claude transcribes his cut with word timings, so every shot lines up with his voice.
- Claude builds the screens with real UI: the computer, the phone, the whiteboard writing and the robot-arm table.
- Claude builds the 3D room scene in Blender on his Mac and checks test frames of every shot.
- Claude uploads the scene once to RunPod storage, where Blender is already installed.
- About 9 cloud GPUs render the frames from a shared queue. His Mac renders a small slice as a backup.
- Claude pulls the frames back to the Mac while they render, and checks that none are missing or black.
- Claude cuts in his talking head as a split screen and adds the subtitles.
- Claude exports a voice-only version first, then one with music and SFX.
- Claude uploads it to Drive and adds it to the Short Videos app.
- Final video sent back to Riley with a direct link, and Finder opens on it.